Installing the Android Push Notifications SDK
Last Updated: Monday, December 6, 2021
This is an Android SDK for handling push integration with the Vibes Platform APIs. The compiled Android SDK is available on the Vibes GitHub Repository. The Android SDK code can be found here.
Installing the Android SDK
- Click Add Firebase and follow the instructions on the Firebase website. This will include setting up the Google Services plugin and downloading the google-services.json into your app folder.
- Click Add Firebase Cloud Messaging and follow the instructions. This will include adding two services to your app to handle app token refresh and incoming push notifications.
- Add the Vibes SDK by doing the following:
- Add the following to your project-level build.gradle file:
maven { url "https://maven.pkg.github.com/vibes/android-sdk-repository" credentials { username = System.getenv("YOUR_GITHUB_USERNAME") ?: "" password = System.getenv("YOUR_GITHUB_PASSWORD") ?: "" } } - Add the following to your app-level build.gradle file:
dependencies {
    // other dependencies here
    implementation "com.vibes.vibes:vibes:4.12.1"
}
- Add the following to your project-level build.gradle file:
- Sync your project in Android Studio.
Configuring Multiple Environments
Build variants
To support a separate test build from your production build in Android, we recommend creating build variants for your different environments. Follow this documentation to learn more and configure build variants.
Once you have the build variants created, you can edit your build.gradle file to include your global constants for Vibes app ID and Vibes API URL.

FCM setup
Vibes uses Firebase Cloud Messaging (FCM) as the push transport method for Android devices that have access to the Google Play store.
Providing push permissions to Vibes
Before you start this process, be sure you have received a Google Service Account email id from Vibes.
-
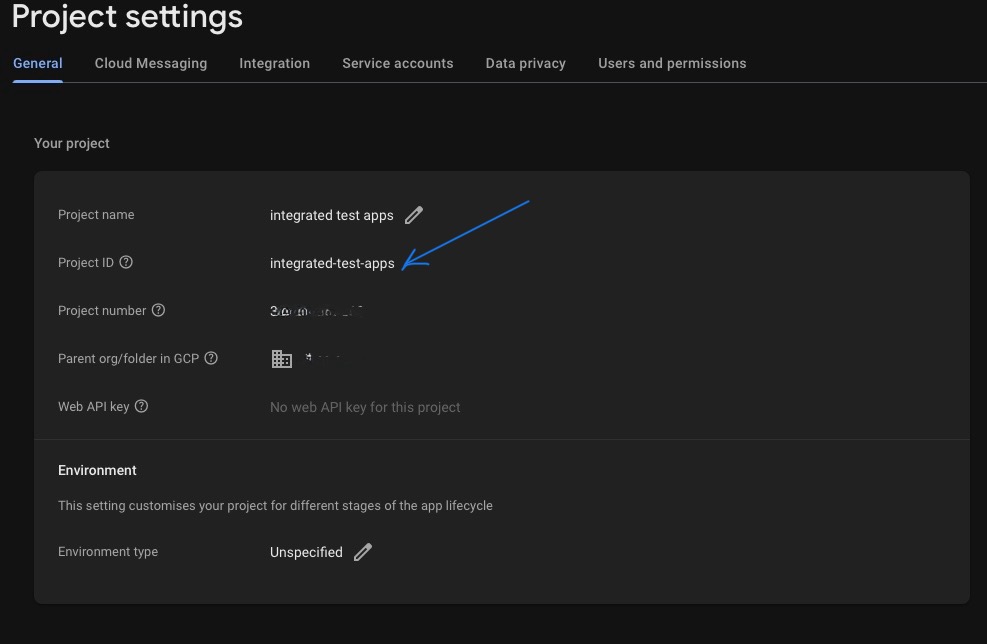
In the Firebase console, find the
project_idof the application you'd like to onboard.
-
Navigate to the Service account tab, and click Manage service account permissions. This will take you to https://console.cloud.google.com/.

-
In the Google console, navigate to the Roles tab, and then click +Add permissions.

-
Search for
cloudmessaging.messages.createpermission. Check the box, then click Add.

-
Now that the the role has been created, you'll need to add the Vibes Service Account to the project.
Navigate to the IAM tab, and select Grant access.
-
In the menu that opens, under the Add principals section, provide the Google Service Account email id that you have previously received from Vibes. Under Assign roles section, provide the custom role created in the previous step (CloudMessagingCreateCustomRole). Hit Save.

-
Once you've completed the above, reach back out to Customer Care to let them know your app is configured. Provide them with the
project_idand thebundle_idof the application you've onboarded from the Firebase console. Then, you're all set!
Updated 11 months ago