Add Tag Tracking to Your Campaign
In this article, we’ll describe how to use tag tracking in a specific campaign. This article assumes you have already implemented the steps from our implementation article and will focus only on the actions taken in the Vibes Platform, not at a developer level.
Just looking for the code? Click to copy below.
{{tag_tracking | url: "https://www.vibes.com/sale"}} Learn how to use a spreadsheet to generate code snippets.
Guide
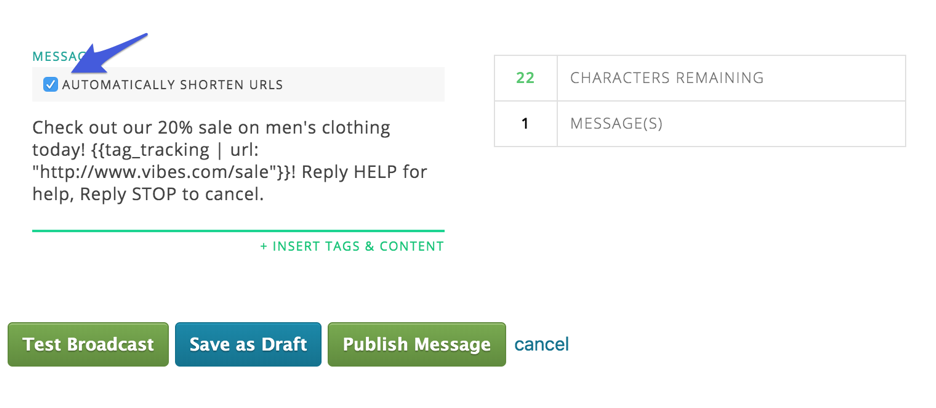
Step 1: Enable shorten URLs
Set up your campaign as you usually would. As you are drafting the content of your message, you should include the URL of the page you’d like to send end users to. After you include the URL, make sure the box above is checked, which will automatically shorten any URLs in your messages, which should help with character count limitations.
Step 2: Add the tag
Next, you’ll copy and paste the following tag where you want your URL to appear.
Be sure to replace "www.vibes.com/sale" with your URL:
{{tag_tracking | url: "https://www.vibes.com/sale"}} 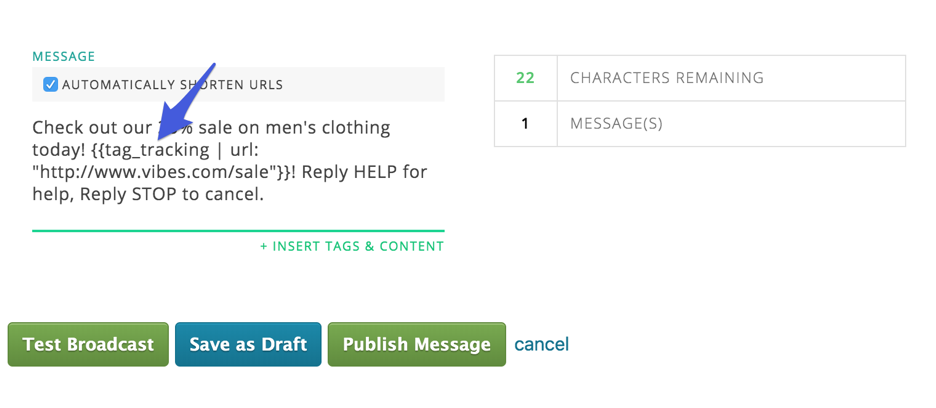
And that’s it! Tag tracking has been enabled on your message.
Using Spreadsheets to Generate Code Snippets
- Vibes tags must be added to your campaign in the following format: {{tag_tracking | url: "https://www.vibes.com/sale"}}
- Replace "https://www.vibes.com/sale" with your URL
- The following table can be used to create this liquid tag automatically in Excel or Google Sheets
| 1 | A | B | C | D |
|---|---|---|---|---|
| 2 | {{ tag_tracking | url: " | https://www.vibes.com/sale | “}} | =CONCAT(A2,B2,C2) |
| 3 | {{ tag_tracking | url: " | https://www.vibes.com/sale | “}} | =CONCAT(A3,B3,C3) |
| 4 | {{ tag_tracking | url: " | https://www.vibes.com/sale | “}} | =CONCAT(A4,B4,C4) |
Updated over 1 year ago